NoteAn Orange Logic administrator can follow the steps below to create an application account in the Orange Logic interface, or you can complete this task with the OAuth 2.0 client registration endpoint.
-
In the Orange Logic interface, go to Administration Contacts > OAuth Client Application Accounts.
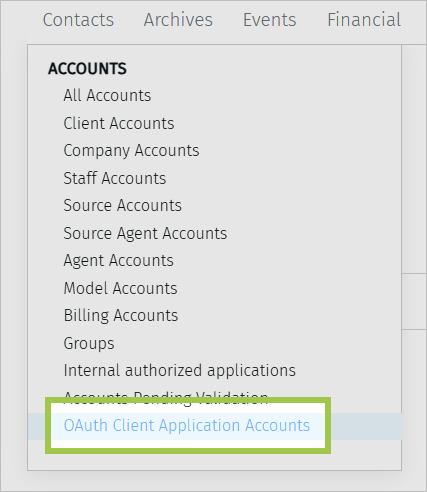
OAuth Client Application Accounts
-
Create a new account.
-
Enter the following required information:
- Name
- Redirect URI
Note
Check the API documentation of the third-party application to find a URI redirect address. The redirect URI is often the URL of the home page or login page of the third-party application. Orange Logic will use this URI to redirect the user to the third-party application after the user authorizes the application.
- Login ID
- Password
-
Optionally, upload a photo, such as a logo image, to identify the account. We recommend completing this step. Users see this image when they authorize the third-party application.
-
Click Save.
-
Click the OAuth 2.0 Client Credentials button. The Client Credentials window opens.
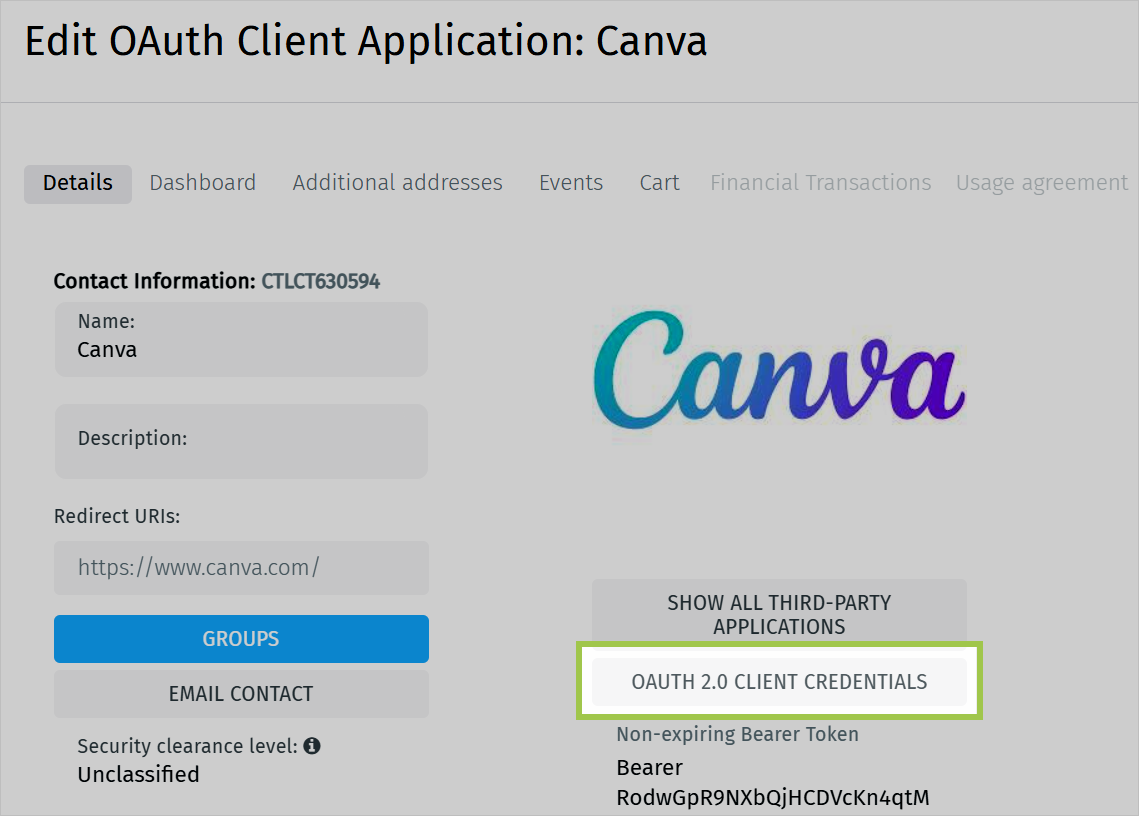
OAuth 2.0 Client Credentials button
-
Click Generate New Credentials.
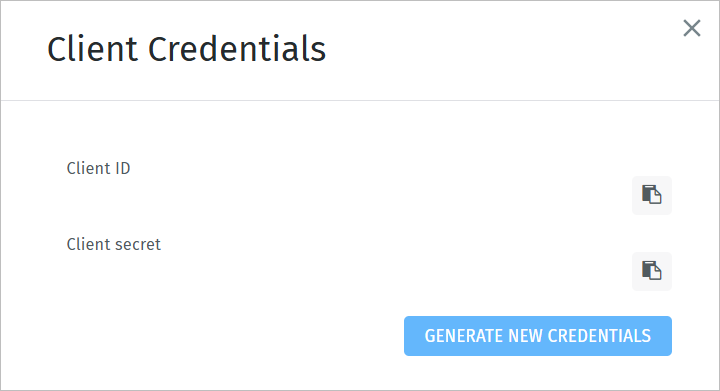
Client Credentials window
-
Enter a seed for the credentials.
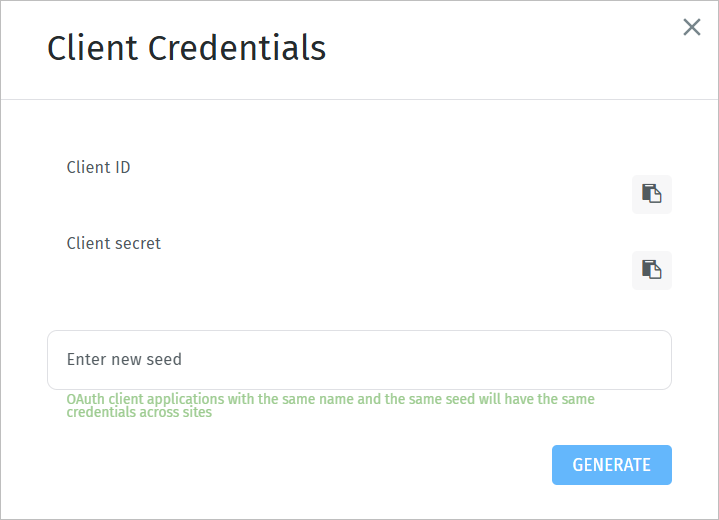
Generate client credential seed
NoteSeeds are optional. However, we strongly recommend using them to simplify your configuration by creating consistent credentials across environments or sites. The seed acts as a unique key for the account so that any other account in your instance created with the same name and seed will generate the same OAuth credentials. You can enter any string as a seed, but we recommend including the account name. Keep seeds confidential and document their purpose clearly to simplify future account management.
-
Click Generate.
A client ID and a client secret appear in the Client Credentials window. You’ll need this information to run the authorization and OAuth API calls.TipIf you have a test environment, Orange Logic can configure your production and test environments to use the same client credentials. To have this set up, submit a support request.